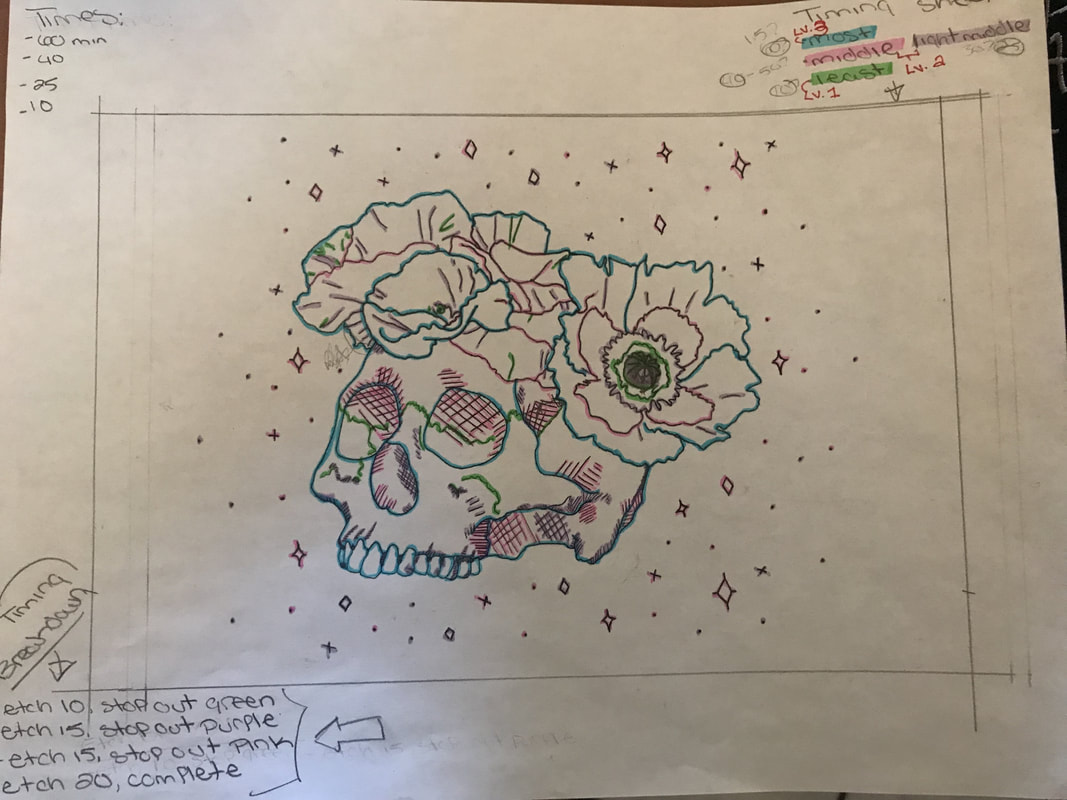
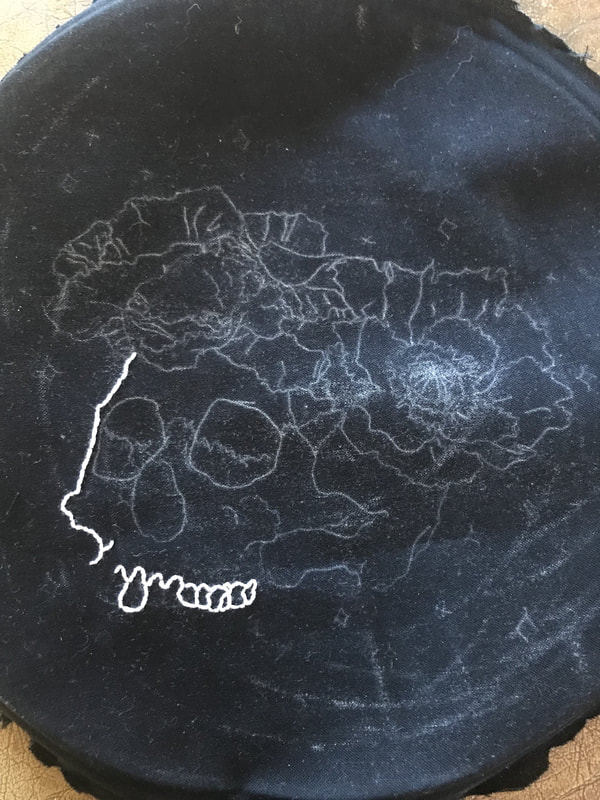
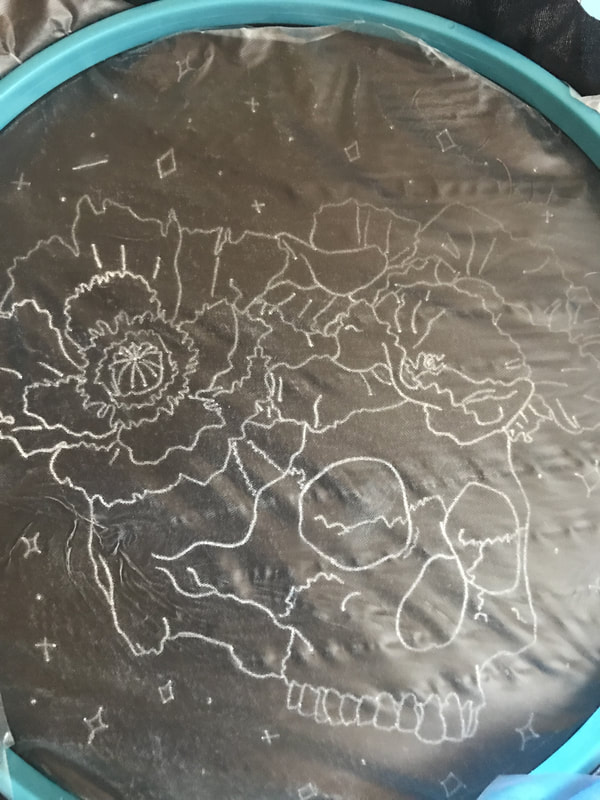
Creativity & Design Blog 74/14/2018 Problem Statement My problem is that I need a project for this class, but I don't want to overload myself with work by biting off more than I can chew. Planned Approach At first, I thought my problem was that I don't know how to embroider. As I wrote the long proposal, I realized that the problem was less about my ability to embroider and more about my mental health as I finish college. When I began the actual embroidery process, I assumed that using white charcoal transfer paper would be the perfect way to get my design onto the black fabric so I can hammer out the embroidery. Upon attempting to embroider, I found out that the force of the needle and thread going through the fabric displaced the charcoal on the fabric and as I embroidered, I slowly lost the design. Creative Strategies Upon relaying my roadblock to the class, Marissa helpfully suggested I use fabric stabilizer. This kind of in-class collaboration helped me find a solution that will hopefully help me finally get through embroidering this design. I bought water-soluble stabilizer so that once I'm finished embroidering, I can soak it in water and the only thing left will be the fabric and thread. I still used the transfer paper and I will have to see this week if I need to trace the design from the transfer with a marker so that the charcoal doesn't fall off while I embroider like it did with the fabric. We'll see. Below is a video I compiled of Boomerangs, an Instagram feature that records a 1-second video and makes it go forward and back. Below are images as follows: the original attempt that I started embroidering in which the charcoal transfer is very faded, the transfer onto the stabilizer, and the key for thread thickness that I made last semester when I originally used this design for an Intaglio print.
 Reflection
I can't wait to see if the stabilizer works out. I really wanna get going on finishing this project. One of the biggest issues I had this week was creating enough content to satisfy the requirements of the blog post. It was frustrating to have to think of a way to make a video of my work, which goes against the parameters of my proposal. I had to take extra time to edit it and such in the middle of my day, which was inconvenient and stressful and fails to solve my problem in the first place.
0 Comments
Creativity & Design Blog Post #54/7/2018 This week, I started my final project. This blog includes the process of transferring my design onto the fabric so I have a template to follow when I embroider. Creative Strategies The biggest strategy that I used this week was planning and pre-visualizing my process. This was largely because I was filming myself and wanted to depict everything that I was doing. I made a list of the steps to follow in my video and had to redo some actions so that they were clear on the video. Creative Process Below is the video I took while transferring the design. It includes supplies and me tracing the design onto the fabric. In the spirit of keeping this project manageable, I am using a design that I made last semester. I created this illustration for an intaglio print for my printmaking class. I think it will translate great to embroidery. I used white transfer paper since my fabric is black. Below is the transfer. 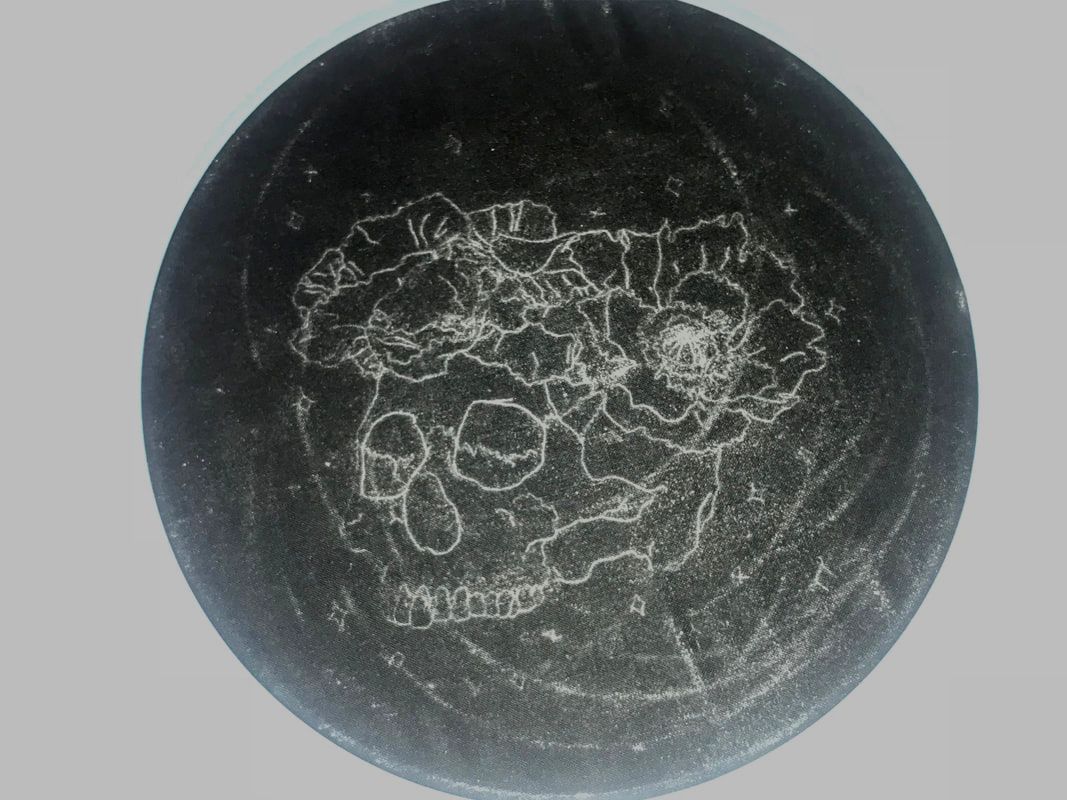 I had two issues with this. One had to do with the video and one with the actual process of transferring the design. First, I have never recorded myself in real life doing art, so I had to figure out angles. At first, I forgot to put the camera to my left. Since I'm right-handed, you wouldn't be able to see what I'm doing with the camera on the right. That's why part way through my video the camera angle changes because I realized this. I was further constrained by my space. Due to the height of the table I was using, I couldn't get as high an angle as I wanted. Also the fluorescent lights I was under can be seen in the video as a series of thick stripes moving through the image. Next, it's not that easy to draw on fabric in a hoop. The hoop raises the fabric off the table, so it's hard to get a solid push on it with the pencil. To mitigate this, I tried putting the fabric over a bowl. This only helped to a degree, though, because the bowl was smaller than the hoop, which meant I had to move it around. Also, as you can see in the image above, the edge of the bowl got transferred onto the fabric. That's not such a big deal, though.
Draft Proposal3/5/2018 Embroidery and E-Textiles
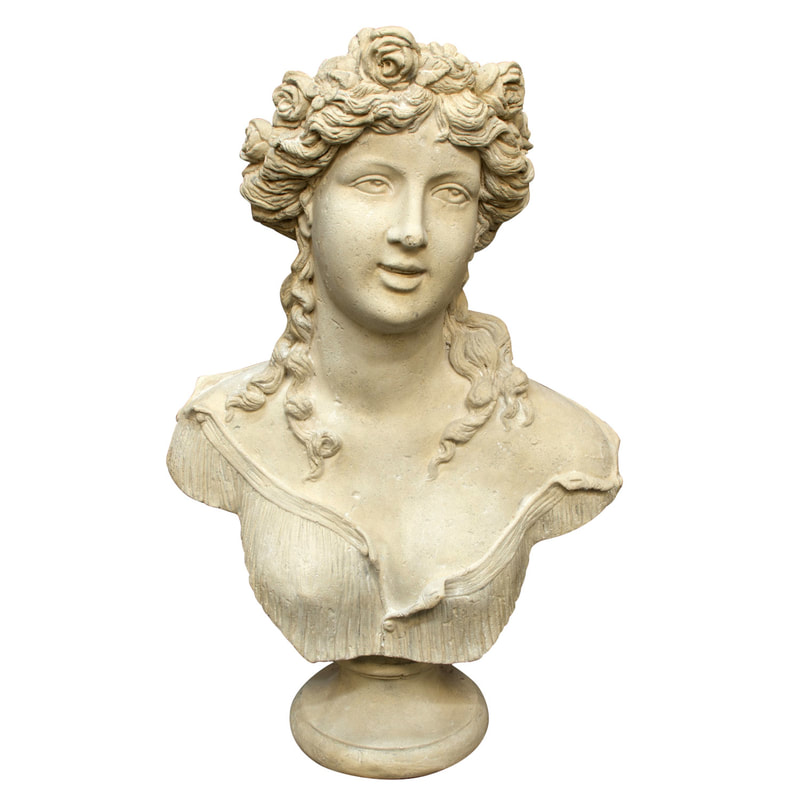
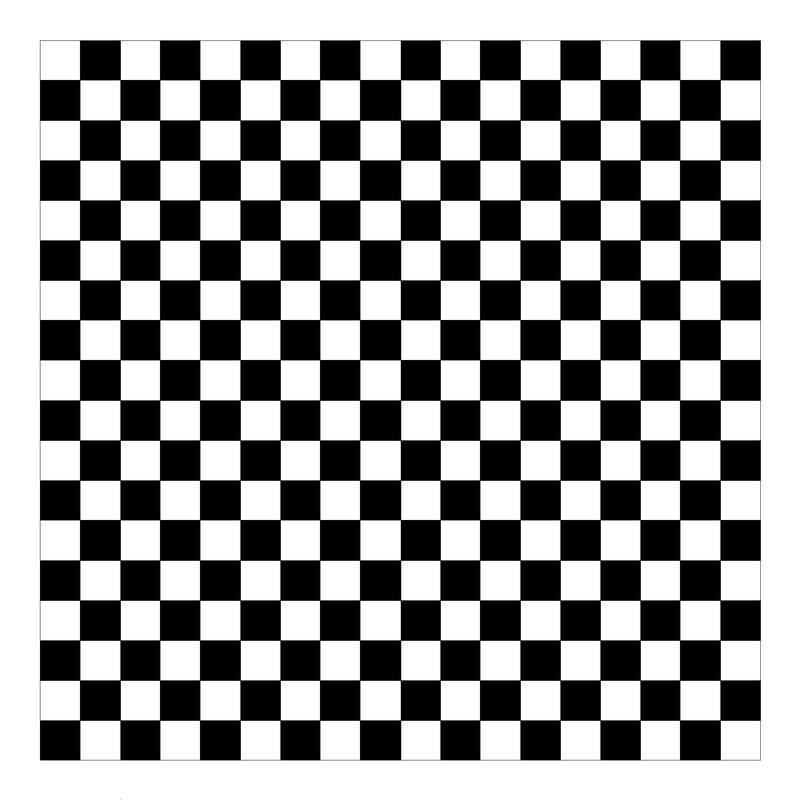
Who? Me. I want to learn embroidery for myself, and possibly my crafts business. This project specifically would be something I turn on at night for some extra decoration in my room. What? This is an embroidery and e-textile project, so I'll need thread, conductive thread, LEDs, an embroidery circle, fabric, an arduino, and a program. When? Now and the future. While I'm surely doing this for this project, it will help me in the future so I can potentially make products to sell or as gifts. Where? My room. I like putting glow in the dark stars on my ceiling, so this would go on my wall for nighttime decoration. Why? My linework art style could possibly be translated to embroidery, which I think is a really cool way to evolve my art. I think I can excel at embroidery, so I want to start learning in this class. Complex Embroidery requires technique and finesse. E-textiles require knowledge of circuitry and programming. Ill-Structured Embroidery has infinite design possibilities that can be made with various colors of fabrics and threads. E-textiles can be made with a ton of different circuit make-ups and many different types of programs made through code. Domain Specific Embroidery requires knowledge of needlework. E-textiles require knowledge of crafts as well as circuits and programming. Influence I have a position of influence because I already have some crafty experience, as well as artistic experience. I can use my artistic knowledge to help me learn embroidery. I also have some experience in programming, so hopefully that helps. Make Progress I will look up tutorials and videos on beginning embroidery as well as arduino videos and tutorials to help me build the circuits and code this project. Creativity & Design Blog Post #42/23/2018 This week, I wanted to try something new. I don't remember how, but I had the urge to try my hand at vaporwave art. Problem Type This problem is largely unfamiliar. It's vaguely familiar in the sense that I'm proficient with photomanipulation and Photoshop. I've never really thought about vaporwave art before, though I'm aware of the aesthetic and have seen many images around the internet. It's a style I hadn't analyzed before. Creative Strategies Honestly, my creative strategy was "just go for it". I didn't sit down and plan at all, I searched for a bunch of images on Google and went headfirst into Photoshop just messing around. I did do some research beforehand, though, to more acquaint myself with what exactly vaporwave art is. My Creative Process Firstly, I did some research. What I found out contradicted my base knowledge of what "vaporwave" is. Before, I thought it was this extremely stylized form of imagery made with roman busts and neon colors. Upon just googling "what is vaporwave," I discovered that it's not visual art at all. Vaporwave is actually a genre of music, characterized by appropriating 80's and 90's elevator music. Once I found a resource referring specifically to the meme of vaporwave did I find out how it is linked to the imagery. Vaporwave music was often heard alongside something called "a e s t h e t i c," all spaces included. It was really a e s t h e t i c art that is what I thought was vaporwave art. This kind of art was supposed to make fun of what people consider "aesthetic," to make fun of a hipster notion of what looks good and doesn't, supposedly. But, since a e s t h e t i c art became so closely associated with vaporwave music, the term "vaporwave" now technically refers to both the music and a e s t h e t i c art. Since I wanted to focus more on the art part of vaporwave, I amended my search from "how to make vaporwave" to "how to make vaporwave art" and stumbled upon this video. Here, I got the basic low-down on vaporwave art aesthetic. Also, my vaporwave name would be Luxury 消費者. The Japanese means "consumer." While this video is satirical, it's actually accurate and useful. I used this as a basis of my vaporwave art adventure. Here are all the images I downloaded for this endeavor (though I didn't use every one of them): This project was incredibly experimental, since I had never done this before, and I didn't have a clear idea of what my finished product would be. I followed the advice in the video above. I used gradients, chose bright blues and pinks, and followed many of the motifs usually found in vaporwave art such as the Windows 8 logo and a Roman bust. As seen in the video below, I decided not to use the checkerboard, the Roman arch, the Arizona Tea can, nor the sun or moon. No matter how I put these elements, it didn't look right to me. Ultimately, it's all about messing with it until it looks right, whatever "right" is. Here is my process video: For this project, I used Photoshop Elements 11 and Firealpaca. Since I don't own a full version of Photoshop, I used my drawing program to supplement some features that Elements doesn't have. Below is my final product: 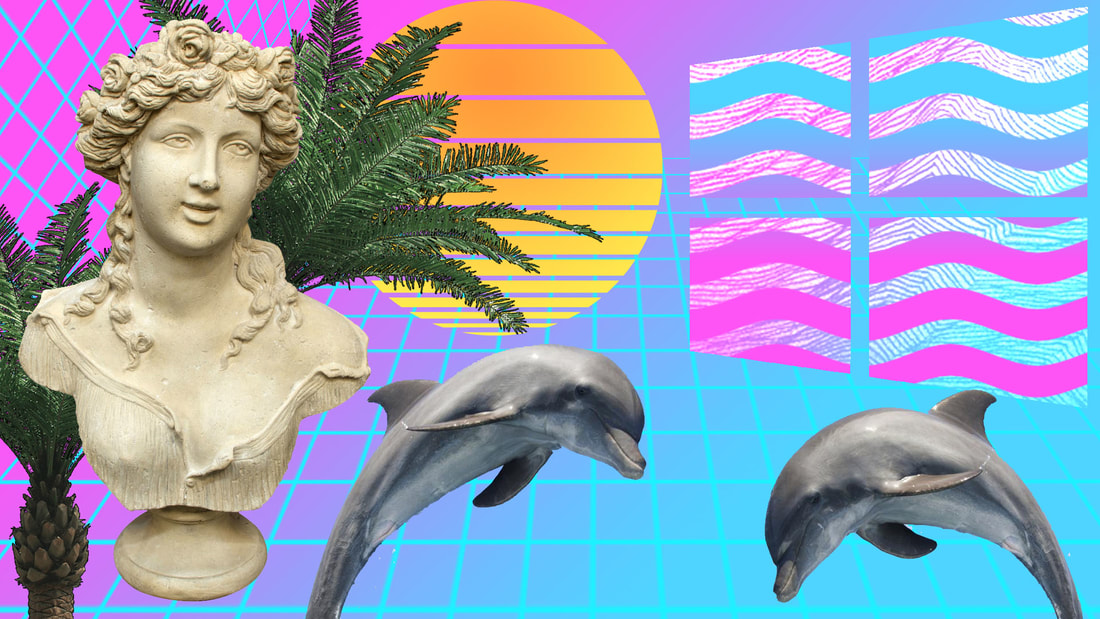 Reflection
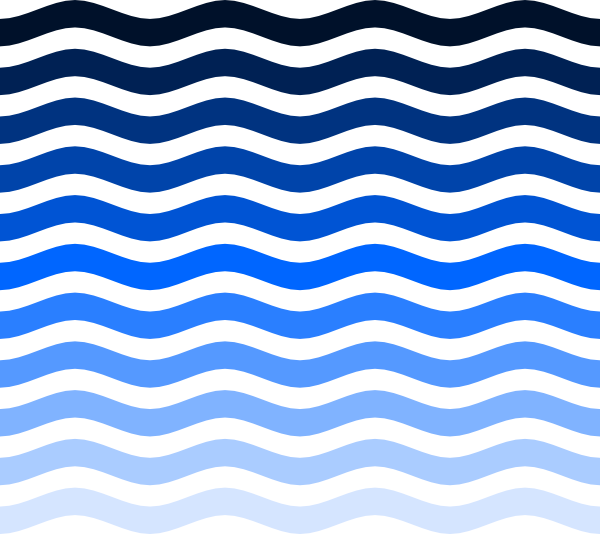
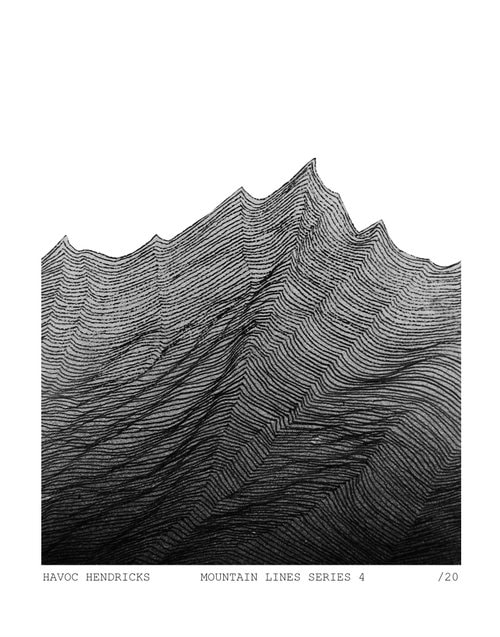
Ultimately, I love how my final image came out!! This was such a fun project and I think I did very well considering this is the first time I've ever done vaporwave art. I had to go back and forth from Photoshop to the Google Image search just to make sure I was getting the "look" right. I made the dimensions 1920 x 1080 so it could be potentially used as a screensaver or background on a computer. Sometimes I had trouble figuring out where elements were to go, mainly on the right side of the image. The only thing I want to change in my final product is the Windows 8 logo. Over the course of this project, I struggled with what I would do with it. I figured I could make it like a window to a body of water, but my main obstacle was finding an image of water that I could manipulate and make it what I had in mind. In the end, I used a wavy image, but I actually don't like it. I would much rather it just be the mountain image that's behind the waves without the waves and I think that will be sufficient. Overall, this project was quite fun and though while I probably wouldn't do it again, I'm glad I did. I'm really proud of the outcome, as I feel like it could really be seen around the internet accompanying a vaporwave song. Arduino Pre-Lab: Getting Started2/19/2018 Idea 18x8 LED Matrix I would want to use this as a tracker of sorts for something happening in space. I really like space, so I think it would be cool to make a clock-like thing that shows the sun moving across the sky or the phase of the moon, and I think an 8x8 grid would be simple enough for that. Idea 2LED Matrix Controlled by Android App To me, this is so so cool because the lights in the matrix aren't pre-made. You can make whatever picture you want. The only downside is that I have an iPhone and not an Android, so this tutorial doesn't do much for me. I guess I could still adapt this to be used with a computer rather than through bluetooth. Idea 3Lightning Detector I would make this for a very practical purpose: determining if we should close the pool. Since I work by a body of water, one of our responsibilities is keeping an eye and ear out for thunder and lightning so we can evacuate the pool area for the safety of our patrons. It's not a perfect process, though, as we aren't able to see every strike of lightning. For one, the building blocks our view of the west and the mountains block our view of the east. Also it's possible that neither the lifeguards nor the instructors will see or hear a strike. Something like this could help us detect lightning to keep our customers safe. This project may be too complicated for my level of skill, but it would still be pretty neat to have. Idea 4Twitter Mood Box
If I were to do this project, I would want to skip the Twitter part. It's cool that it analyzes words in tweets to determine the "mood" of people on Twitter. Honestly, I'd rather have it just be controlled by me depending on what color I want in my room. Or, I could have it change color throughout the day depending on where the sun or moon is in the sky as a sort of abstract clock. I think this project is doable for my low level of programming skill. AuthorA digital media student with a focus in visual development, illustration, and photgraphy. Archives
April 2018
Categories |


 RSS Feed
